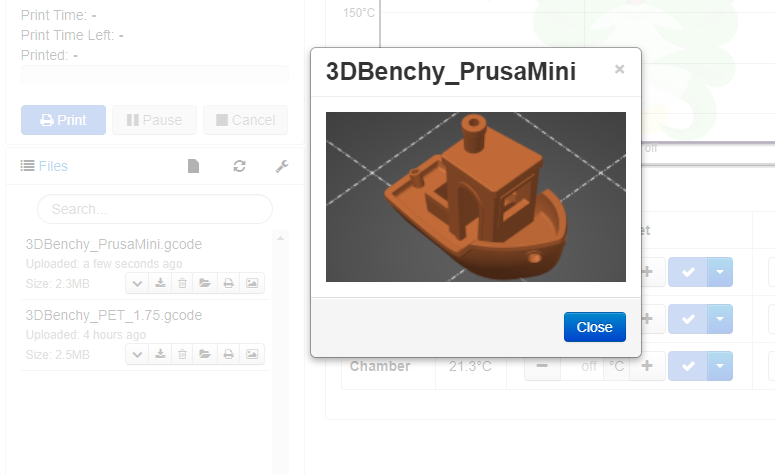
How to generate a gcode preview
This firmware allows to show a preview of g-codes that have a thumbnail automatically embedded using a script in the slicer. Warning! if you send the g-code file to the µSD using Octoprint, the thumbnail and any other information additional to pure g-code could be stripped.
CHEP video review of the g-code preview feature: https://youtu.be/Q-OA9_t9bGc

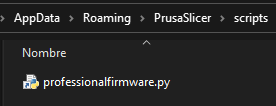
For be able to generate g-code with thumbnail it is necessary to install Python 3 and a script/plugin in your slicer
First download the correct script/plugin:
Use right-click and select "save link as..."
Save the downloaded script in a known location
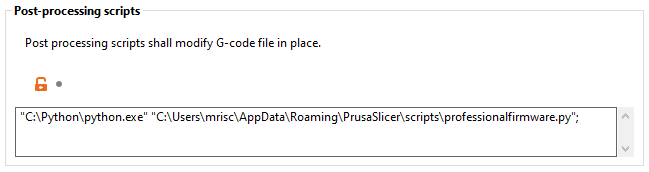
Write the location of your Python installation and script on the slicer Print settings / Output options:
Requires expert mode to be enabled in the upper right corner of the program to see the setting. In printer settings / General write 230x180 for the G-code thumbnails. The firmware only recognizes thumbnails with a size of 230x180 pixel

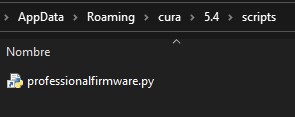
Go to the Help menu on Cura and select Show Configuration Folder in Windows you will get an explorer opened in the path inside of your user profile folder: C:\Users\NameOfUser\AppData\Roaming\cura\..., Close Cura and save the downloaded script in the scripts folder:
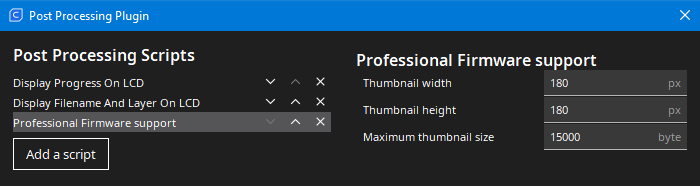
Open Cura, go to menu Extensions > Post Processing > Modify G-Code and press Add a script, then select the script from the post
processing plugin popup
The firmware only recognizes thumbnails with a size of 230x180 pixel, Pay attention to the name of the selected script Create JPEG Thumbnail

If you want to see the generated thumbnail in Octoprint, you must to install the plugin Slicer Thumbnails